winnieView
Maintenance Tips
Categories
maintenance checklist | service checklist | winterizing checklist | refrigerator checklist | one place | cab | internet | front steps | got mice? | winter living | water system | wash/protect
MAINTENANCE CHECKLIST |
Below is the list I've been keeping up on for the past few years - just a gentle reminder that your RV needs some love on a regular basis. | [back to top] |
|---|---|---|
 |
|
|
MERCEDES SPRINTER SERVICE CHECKLIST |
The following is what I do on the various engine services. The service intervals that MB recommends for Service "A" is 20,000 miles between each one and Service "B" is every 40,000 miles (ex: at 10,000 miles, you will perform a Service "A"; then at 30,000 miles, a Service "B"; then at 50,000 miles, a Service "A"; and so on. So, every 20,000 miles, you will perform one of them). I try and do an oil and oil filter change every 10,000-15,000 miles just to be safe (do not reset counter light). See Parts for details on the correct tools/parts. | [back to top] |
|
|
|
WINTERIZING CHECKLIST |
Below is the list I use when I park/store the RV during the winter - anytime the temperature will dip below 30 for any prolonged amount of time. | [back to top] |
|
|
|
REFRIGERATOR MAINTENANCE CHECKLIST |
These are some of the things you should be doing to your Dometic 3-way refrigerator. You have made the investment in a quality refrigerator for your RV. There are things you can do to keep it running for the life of your RV. Some maintenance can be done yourself, but others may require a service technician depending on your comfort level and experience. | [back to top] |
|
||
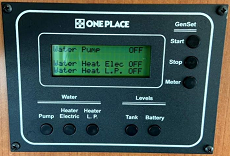
RESET ONEPLACE |
Below is the procedure to reset the One Place controller in the View/Navion. | [back to top] |
 |
|
|
CAB / SEATS |
[back to top] | |
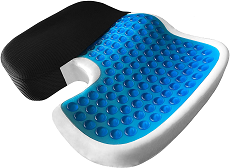 |
I have pretty severe lower spine and leg issues, so driving any distances is impossible. I tried other seat types but found nothing. Then I tried this orthopedic pad. Wow! what a difference! I can easily drive 8-10 hours without pain! I highly recommend this one. |
|
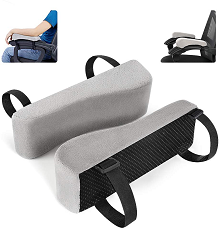 |
The armrests in the RV are not comfortable enough for long trips. I tried the gel memory foam "stick on" ones, but they did not do the trick. I got these Memory Form Armrest Pads that have an elevated sloap. They don't make the armrest longer, but they are a bit higher in the front so it feels like they are. They stay in place and are extremely comfortable. |
|
INTERNET ACCESS |
[back to top] | |
 |
Starlink came out with a service offering for RVer's. They have a mobile cabable dish (InMotion), but very expensive, so I opted for the normal one and attached it to a Flagpole Buddy's pole and Dishy attachement. The monthly service is not cheap, but you can shut it off for the month(s) you don't use it without charge! I still have cellular as a backup which the Pepwave MAX 5G router automatically switches back and forth depending on connectivity. In addition to all the streaming we do, I work remotely, so we have a large need for high-speed reliable Internet service. | |
 |
|
|
 |
|
|
 |
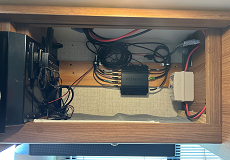
I use the Pepwave MAX 5G router for the AT&T plan with a Parsec Husky antenna with magnetic mount and an 18" ground plane attached to the roof to bring Internet into the RV from cellular and broadcast our WiFi signal throughout. One of the WAN ports on the Pepwave connects to the Starlink. The external antenna also allows us to connect to other WiFi sources for when we are staying somewhere with decent WiFi, usually only when "Moochdocking"; allowing us to bring the Internet into the RV an external WiFi source. The Pepwave also supports the GPS in the Parsec antenna. This is handy because all of the Victron equipment and the Pepwave "InControl" use it and track my position through their dashboards and history. So, no matter where we are or what sort of signals we have access to, we are always connected and all of it managed by the Pepwave router automatically. There are less expensive setups that can work, but remember what I said earlier about my need for high-spped, reliable Internet service. We have rock-solid Internet most everywhere we go. |
|
FRONT STEPS |
[back to top] | |
 |
My retractable steps were showing their age and very rusty. They also were not closing properly because of the rust and missing rubber bumpers between the steps. The following is what I did to bring them back to life:
|
|
 |
|
|
GOT MICE? |
[back to top] | |
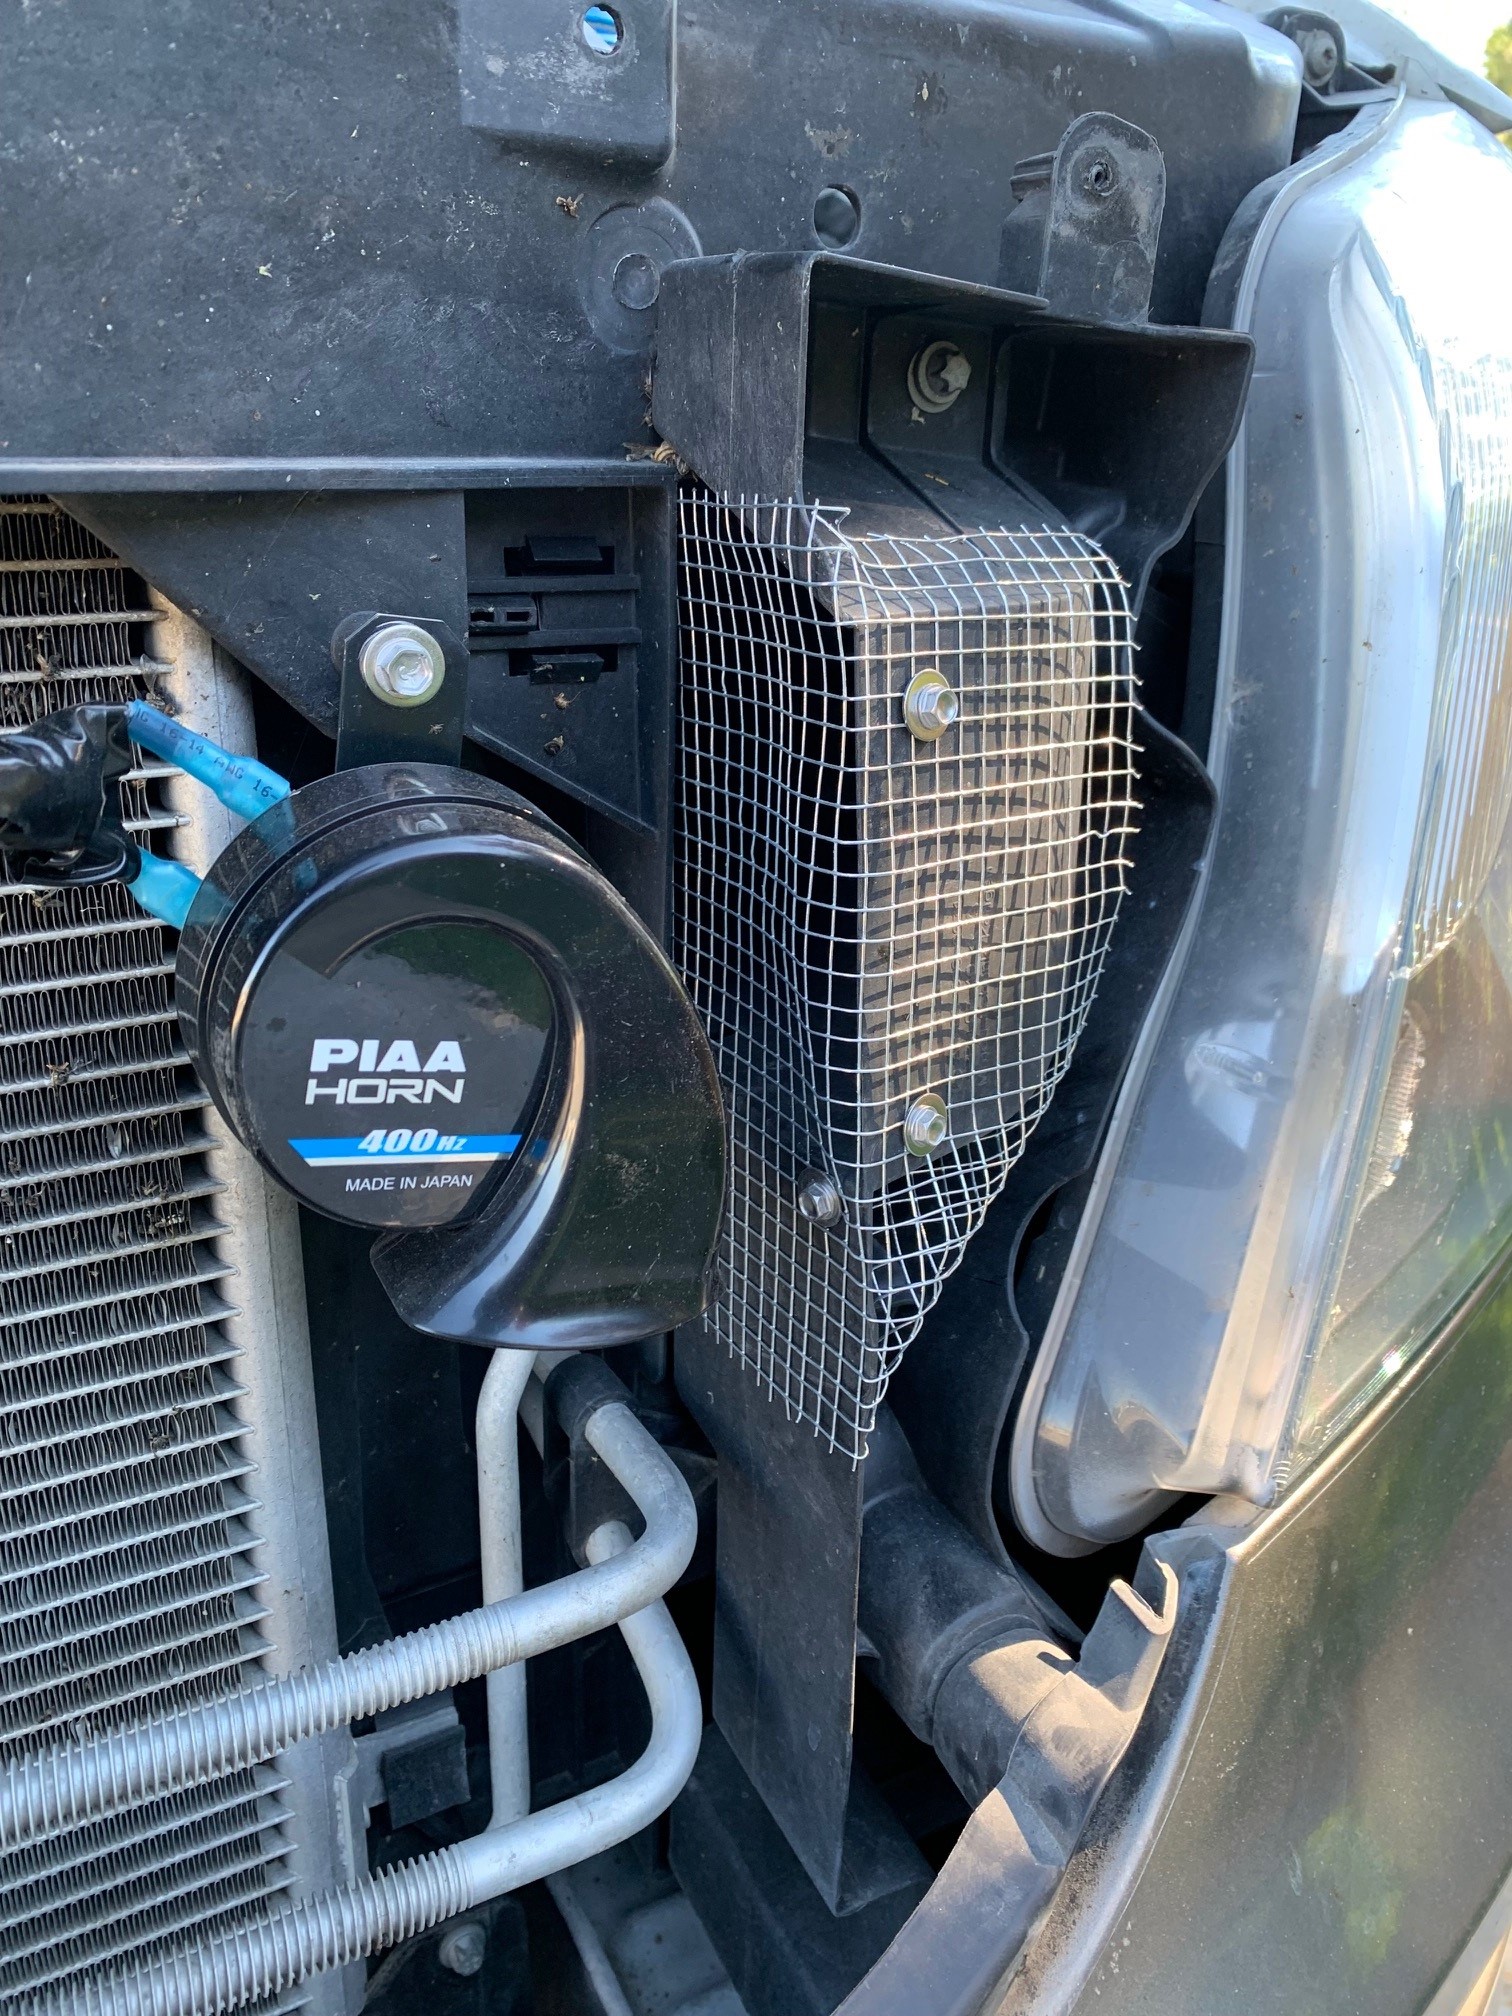 |
Mice and rats can do a lot of very expensive damage to your RV. They like the electrical wire wrapping and make their nests with all the insulation around. If you see evidence of mice, the first step is to get rid of them before doing any blocking. I used the old standard mouse trap and killed them! Next, you need to add the wire mesh cloth using stainless steal screws to the two air intake areas in the front (see pictures on left). |
|
 |
You should also get underneath your RV and close up any holes/gaps. You will be surprised how many access points there are and those little creatures can fit through some amazingly small holes. I used Great Stuff to seal them up and then covered them up with the Wheather proof Gorilla tape. To keep them from coming back, I use the Plug-in Ultrasonic Pest Repeller. Just set it in the middle of the floor and plug it in. No more rat/mice problems! |
|
SURVIVING THE WINTER |
[back to top] | |
|
How much or little of this you do really depends on how cold for how long. Protect the fresh water coming into the RV - get a Heated Hose with Thermostat. Fill your fresh water tank, use the pump, and leave the external water supply closed unless filling. Protect your fresh water storage - using one of these reptile heat lamps (Heating Lamp Stand, Heating Lamp Bulb and Auto On-Off Thermostat) and put it in your water bay. Protect your holding tanks - Add a small amount of RV Anti-Freeze to your drains so the holding tanks valves do not freeze. Most of the time, your tanks will be fine with just the heat from the RV. Keep your waste tank valves CLOSED until you need to dump and only dump when full, then re-add a bit of anti-freeze.
|
||
WATER SYSTEM |
[back to top] | |
|
Water tank and system disinfecting I usually do this about once per year or after the RV has been sitting for a long time unused. Use regular Clorox liquid bleach - nothing with added scent, etc.
|
|
WASH/PROTECT |
[back to top] | |
| Whenever, Dry Wash If you do the annual full-wash, polish, and protect, you can do this whenever you need to clean and bring the shine back! This is really nice when staying at a park that does not allow water washing. Simply use the Aircraft/RV Wash with the wet/dry applicator. Spray the wet side of the applicator with wash and wipe off the grime, then use the dry side to bring the shine back! Work in 3 foot sections at a time. See the Wash Purchases area for full product descriptions/links |
||
 |
Annual Full-Wash, Polish, and Protect I do this yearly or whenever the "Whenever, Dry Wash" does not bring back the desired shine. This whole process usually takes me an entire day and should be done in cooler weather, so plan ahead. Make sure you have a lot of microfiber towels on hand! Start by using a pressure washer with a foam cannon with Auto Wash in it. This makes the wash go very fast! Use the medium scrub brush on the roof first and rinse the roof completely. Then move to the rest of the RV using the soft scrub brush on an extendable pole, then rinse. Next, polish. You will want to get this light weight polisher it is worth every cent! This is the most time consuming step. Use a good quality Polishing Glaze.If you have scratches, use a more abrasive polish like Diamond Cut Compound or Oxidation Remover Compound on those sections first, then come back with the regular polish. It is very important to work in small, 3 foot square sections because you do not want to let it dry before wiping off! (see Wash Purchases for polisher, polish, etc). Once polishing is complete, it is time to apply the high-gloss protection. This is done INSTEAD OF wax. With this you apply in TWO VERY THIN coats - this will give almost 100% UV protection on the finish and help to avoid oxidation (for removing oxidation, use an oxidation remover before polish). I apply with a separate polishing pad and work on half the RV at a time - apply to half, then go back and remove with the Microfiber Towels to finish the shine! To reach the roof and, especially, the front, I use two Little Giant Ladders with an Extendable Plank between them. I purchased these when I painted my house, so the cost was competey worth it. Not sure it would be worth it just for washing (but, this setup is ideal for it!) See the Wash Purchases area for full product descriptions and links. |